Friday, September 27, 2013

An Easy and Delicious Paleo, Gluten Free, Dairy Free, Chocolate Mousse Recipes, made from Coconut Milk, Cocoa Powder and Bananas

3 Easy and Delicious Paleo, Gluten Free, Dairy Free, Chocolate Mousse Recipes from Buttercream Lane and Fact Woman


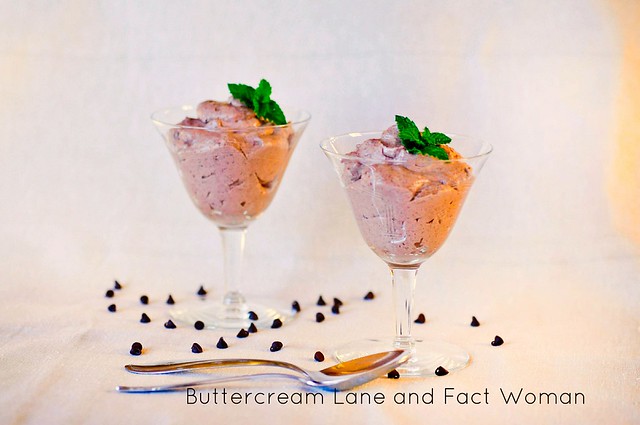
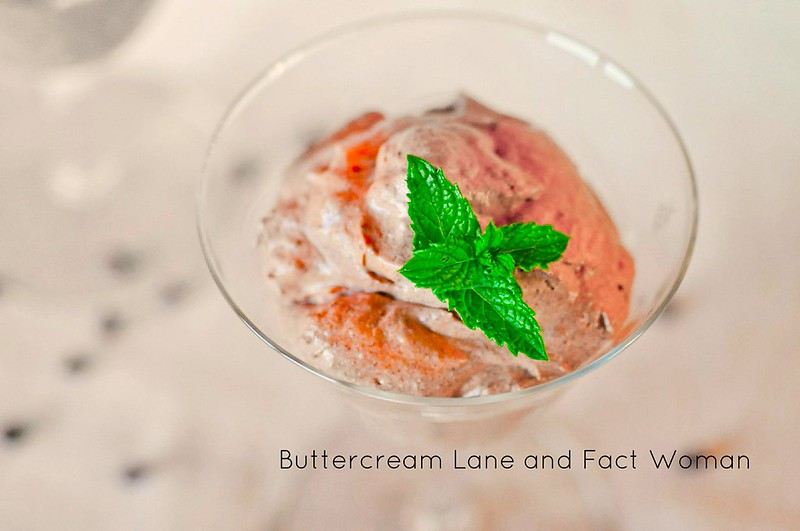
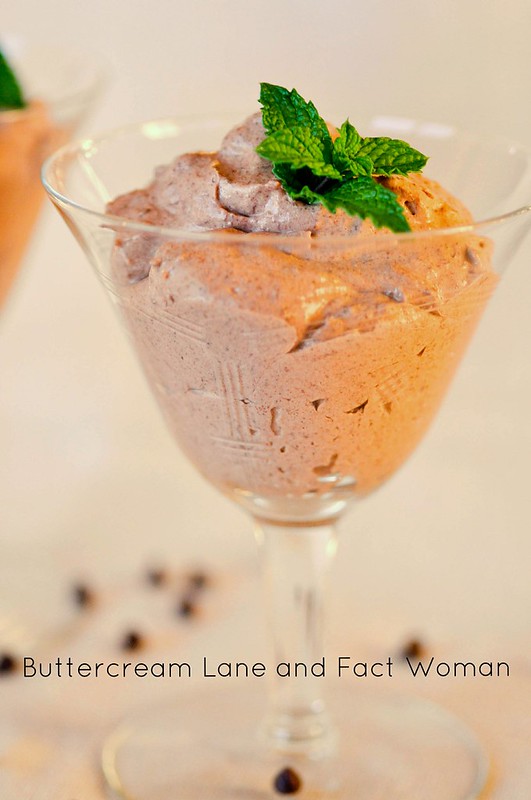
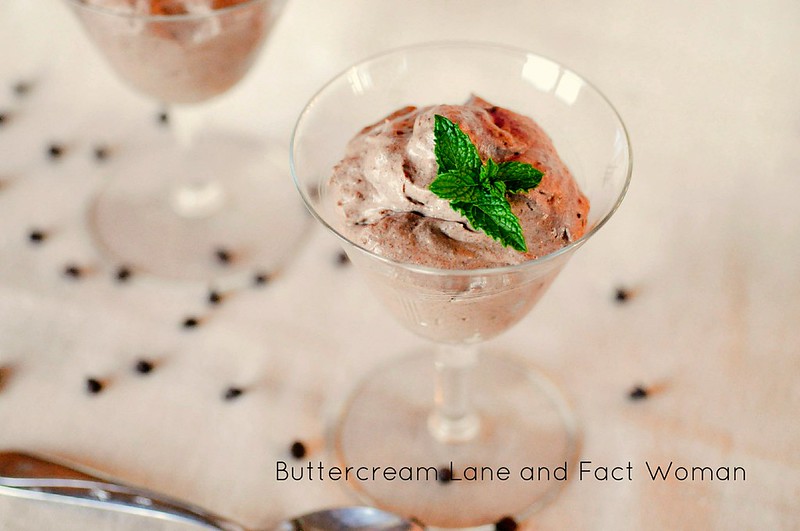
Paleo Mousse Week- Mousse #3- uses cocoa powder and frozen bananas! 

Photographer Friends of ours came to visit last week and they eat a paleo diet so I came up with these recipes to share with them.  Take a minute and check out her wonderful photos and if you're getting married you really need to see them!!!! They travel all over to shoot weddings!

See Mousse #1 Here!
See Mousse #2 Here!

Makes about 4-6 servings

Ingredients

  • 1- 14 oz can of full fat Coconut Milk- Chilled in refrigerator for at least 12 hours
  • 1/4 cup cocoa powder- sifted
  • 2 bananas cut into chunks and frozen solid
  • Optional 1/2 tsp vanilla extract ( I think real vanilla extract tastes like plastic so I skip it)
  • Optional 1/2 tsp ground cinnamon- I love cinnamon and chocolate!

Instructions

  1. Place unopened can of full fat Coconut Milk into the refrigerator and chill for at least 12 hours.  (Hint- shake the cans when you buy it and try to pick a can that is thicker and doesn't slosh around as much when you shake it)
  2. Peel and cut up 2 bananas into chunks and freeze for 12 hours. 
  3. Open the can of coconut milk and slowly pour into a blender. Try to keep some (2-4 TBS) of the thin liquid in the bottom of the can and don't pour that part into the bowl- save it for later. 
  4. Add the cocoa powder and banana chunks in with the chilled coconut milk.
  5. On high speed blend the ingredients until smooth and fluffy. If it's too thick use some of the coconut milk you saved in the can to make it a bit thinner. 
  6. Serve right away. You can keep in refrigerator or you can freeze and serve like ice cream later!!!

Wednesday, September 25, 2013

An Easy and Delicious Paleo, Gluten Free, Dairy Free, Chocolate Mousse Recipes, made from Coconut Milk and Cocoa Powder

Paleo Chocolate Mousse  Week Recipe #2 uses Coconut Milk and Cocoa Powder.

3 Easy and Delicious Paleo, Gluten Free, Dairy Free, Chocolate Mousse Recipes from Buttercream Lane and Fact Woman
See the first recipe in this series by clicking (here)3 Easy and Delicious Paleo, Gluten Free, Dairy Free, Chocolate Mousse Recipes from Buttercream Lane and Fact Woman

Mousse #2- using cocoa powder

Makes about 4-6 servings

Ingredients

  • 1- 14 oz can of full fat Coconut Milk- Chilled in refrigerator for at least 12 hours
  • 1/4 cup cocoa powder- sifted
  • 3 TBS of honey or maple syrup or the sweetener of your choice, you can add an extra TBS if you want it sweeter
  • Optional 1/2 tsp vanilla extract ( I think real vanilla extract tastes like plastic so I skip it)
  • Optional 1/2 tsp ground cinnamon- I love cinnamon and chocolate!
  • Optional but delicious- 2 TBS of any nut butter. (I made the mousse, took half  and mixed in 1 TBS of almond butter but a hazelnut butter would be great too.) It worked great with and without the nut butter so add if you want and leave it out if you want! Up to you!!

Instructions

  1. Place unopened can of full fat Coconut Milk into the refrigerator and chill for at least 12 hours.  (Hint- shake the cans when you buy it and try to pick a can that is thicker and doesn't slosh around as much when you shake it)
  2. Open the can of coconut milk and slowly pour into a mixing bowl. Try to keep some (2-4 TBS) of the thin liquid in the bottom of the can and don't pour that part into the bowl. 
  3. Add the cocoa powder and sweetener to the bowl with the chilled coconut milk.
  4. On high speed with a hand mixer or a regular mixer- beat the cold coconut milk mixture until stiff peaks form. When you pull the beater out the peaks of the whipped coconut milk will stand up straight. 
  5. Chill, covered,  in the fridge for at least an hour or up to a day ahead of serving. I made it yesterday and it was perfect tonight. You can chill all together or you can spoon into your serving dishes and chill that way.  
This is VERY rich so servings should be about 1/3- 1/2 cup per serving.

Thanks to our talented Paleo eating friends , Carly and George who came to visit and inspired me to make these recipes. Take a minute and see her amazing wedding photography by clicking here! 

Monday, September 23, 2013

An Easy and Delicious Paleo, Gluten Free, Dairy Free, Chocolate Mousse Recipes, made from Coconut Milk and Dark Chocolate


This week I will be sharing 3 very easy and delicious paleo, gluten free, 
dairy free chocolate mousse recipes!
They each take just a few minutes to make (once the coconut milk is chilled) and an hour or so to chill. They're a guilt free treat. 
Easy Paleo Chocolate Mousse from Buttercream Lane and Fact Woman3 Easy and Delicious Paleo, Gluten Free, Dairy Free, Chocolate Mousse Recipes from Buttercream Lane and Fact Woman

We had a wonderful couple come stay with us last week. Carly was actually the photographer for my son and daughter-in-law's wedding!;
(here are more wedding photos)
and we've become good friends with her and her husband, George. 

(Check out her amazing photos here
.) They came here to shoot 2 weddings  in Colorado and to visit.  Since they're on a paleo diet, I did some research and came up with some recipes to use while they were here.                                                                        
We ended up not having these desserts but I wanted to try making a dairy free chocolate mousse for myself, since dairy is not my friend!!! I made it 3 different ways and they are all delicious. Make sure to come back this week for the other 2!


3 Easy and Delicious Paleo, Gluten Free, Dairy Free, Chocolate Mousse Recipes from Buttercream Lane and Fact Woman

Mousse #1- uses dark chocolate

Makes about 4-6 servings

Ingredients

  • 1- 14 oz can of full fat Coconut Milk- Chilled in refrigerator for at least 12 hours
  • 6 oz of dark chocolate, melted
  • Optional 1/2 tsp vanilla extract ( I think real vanilla extract tastes like plastic so I skip it)
  • Optional 1/2 tsp ground cinnamon- I love cinnamon and chocolate!

Instructions

  1. Place unopened can of full fat Coconut Milk into the refrigerator and chill for at least 12 hours. 
  2. Melt the 6 oz of chocolate and stir until smooth. Let chocolate cool slightly
  3. Open the can of coconut milk and slowly pour into a mixing bowl. Try to keep some (2-4 TBS) of the thin liquid in the bottom of the can and don't pour that part into the bowl. 
  4. On high speed with a hand mixer or a regular mixer- beat the cold coconut milk until stiff peaks form. When you pull the beater out the peaks of the whipped coconut milk will stand up straight. 
  5. While still beating, pour the melted chocolate into the bowl and beat until combined. 
  6. Chill in the fridge for at least an hour. You can chill all together or you can spoon into your serving dishes and chill that way.  
This is VERY rich so servings should be about 1/3- 1/2 cup per serving. 

Come back on Wednesday for the next recipe!

Wednesday, September 11, 2013

Cinnamon Spiced Pumpkin Whoopie Pies with Maple Cinnamon Mascarpone Filling

There's something about this time of year that makes me long for warm, cozy, down home foods and pumpkin to me is one of these foods.
Cinnamon Spiced Pumpkin Whoopie Pies with Maple Cinnamon Mascarpone Filling by Fact Woman and Buttercream Lane Blogs
I was feeling like some fall food so jumped onto Pinterest and found lots of delicious pumpkin recipes. When I saw a couple of recipes for pumpkin whoopie pies, I knew I found what i wanted to make/eat!  The problem I ran into was the recipes either used vegetable oil or a cake mix or both and I didn't want to go there. If I'm going to eat fat, it's going to be butter. Butter just tastes better and makes anything it's in or on taste better too and if I'm going to bake, I want to do it from scratch. It only takes about 5 minutes longer to measure some ingredients and the final result just tastes so much better..

After reading through different recipes for pumpkin whoopies, I found a few that sounded kind of good, but not quite right. I combined the best of those recipes with a recipe I have for a soft molasses cookies and the Libby Pumpkin Pie recipe and came up with this one. It's a perfect spiced pumpkin cake like cookie with a creamy, buttery, slightly maple flavored filling. I served it to company, family company so they'd be honest, and they were a hit. I hope you enjoy them as much as we all did.

Pumpkin Spiced Whoopie Pies with Maple Mascarpone Filling from Fact Woman

Spiced Pumpkin Whoopie Pies with Maple Cinnamon Mascarpone Filling
Click here for a Printable version of this recipe.

Whoopie Pies
3 cups all purpose flour
1 TBS cinnamon
1 ½ tsp ground ginger
1 tsp baking powder
1 tsp baking soda
1 tsp salt
½ tsp ground nutmeg
¼ tsp ground cloves

1 cup softened butter
1 1/2 cup brown sugar
2 eggs
3 TBS of molasses
1-15oz can of Libby's Pumpkin chilled- I just throw the can in the fridge for a few hours.(this chills up the dough so you can scoop and bake right away. If you don't want to chill the pumpkin, then chill the finished dough for a couple of hours before scooping it to bake.
1 tsp vanilla

Maple Cinnamon Filling
4 cups powdered sugar
8 oz of mascarpone cheese room temperature
1 tsp ground cinnamon
1 stick of butter softened
3 TBS of Maple Syrup or (¼ cup of Maple Sugar plus 3 TBS milk)

The Whoopie part:
  1. Preheat oven to 350° F. Line baking sheets with parchment paper
  2. In a small bowl whisk together the dry ingredients- flour, spices, baking powder, baking soda, salt
  3. In a large mixing bowl, cream together the butter, sugars until combined and fluffy. Add the eggs one at a time and beat to combine. Add pumpkin and vanilla and beat until combined.
  4. Add in the dry ingredients and mix just until combined. Do not over beat.
  5. Using a small cookie scoop or a tablespoon, drop batter onto the parchment lined sheets about 1 inch apart.
  6. Bake for 10-12 minutes making sure that the cookies are cooked through. They will start to crack on the top- it’s part of their charm!  I used a toothpick inserted in to the center to make sure they were done.
  7. Slide parchment off of sheets and onto counter to cool.

Filling
  1. Beat the butter and marscapone cheese until fluffy and smooth- this will take  3-5 minutes. Add  the cinnamon and half the powdered sugar then the maple syrup (or the maple sugar and milk) and the vanilla. Beat until combined. Then continue adding the rest of the powdered sugar until it is thick enough to hold it's shape well.

Assembly
Match up the cookies into sets of 2 similar size and shape and turn one over.  Spoon or pipe the filling onto the upside down cookies covering the entire surface. I spoon all the filling into a quart size zip lock bag and cut one corner off , then all I have to do it squeeze it out to pipe it.
Place the other cookie on top of the filling and press down slightly to get the filling all the way out to the edge. Repeat for each whoopie pie. 

Storage 
Please store these in the refrigerator. You can store these for up to a week in the refrigerator. Take out and let sit at room temperature for about 15-20 mins before serving to soften up or just eat them cold.
Pumpkin Spiced Whoopie Pies with Maple Mascarpone Filling from Fact Woman and Buttercream Lane blogs
Blogging tips